
Good Mic Technique Is Harder Than You Might Think
It has been said that the human speaking voice is the most difficult instrument to record correctly. Good mic technique is essential in any recording situation, but none more so than when recording voice over.
This article will help you if your mic technique stinks and show you what you can do about it.
You can get away with a lot in the music industry that could be considered intentional if it has an interesting sound, but bad mic technique in spoken word productions is going to stand out like a crying baby in a bank.
Being able to record at home is a great advantage in the world of voice over, but it opens the door to a lot of problems that you hopefully won’t find in professional recording studios. If you don’t have a very quiet room those problems could be more than you bargained for.
Have you ever thought,
“I’ll just get closer to the mic and you won’t hear the room so much.”
And then what?
Is that how you really sound?
Can you see your script?
How are you going to fix all those plosives?
I’ve heard of people having the voice of God, but the breath of God?
That’s a problem.
With the growing number of talent recording their voice at home, the problem of improper mic technique is exploding into the voice over gene pool.
When you are working from home you can get into some bad habits and without guidance and feedback from someone else, you may not even know when or how things could be better.
Let’s talk about what is happening when it comes to mic technique, the good and the bad, so that you will know the difference as well as the full story.
I say “the full story” because most people think of it as how they approach and interact with the microphone. But that may not even be half the story.
Let’s begin where most people think mic technique starts.
How To Approach The Mic
Most spoken word productions start out on the right foot from using a side address, large diaphragm microphone.
There are exceptions to this rule, most notably when using the modified Sennheiser 416
The same principles that follow will apply to either side or front address mics, to some extent.
“You Don’t Spit Into The Wind”
Suppose your 5-year-old daughter is having a birthday party.
She loves bubbles.
She loves bubbles so much that she wants a constant stream of bubbles throughout the party.
This somehow becomes your job. You certainly don’t want to disappoint her.
So you have an idea, something about a fan… blowing a constant stream of air all the time?
So you get a couple gallons of bubbles and you get the fan out of the closet and plug it in. The party is going on, the children are screaming for bubbles, so you dip the wand into the jug and then you hold the wand out in front of your chest and stand right in front of the fan.
Can you picture what’s happening here?
I think we can agree that this is not going to work well. Of course, you’re blocking the bubbles by addressing the fan head on.
A better solution would be to stand a bit to the side of the fan and guide the bubble wand into the path of the fan’s wind.
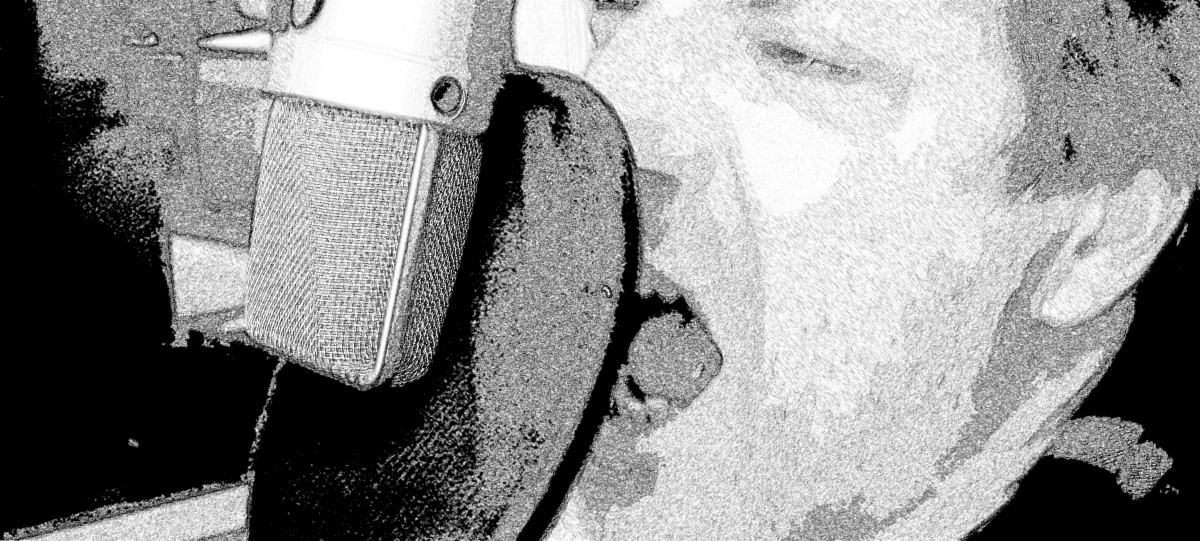
It is good practice to approach a microphone in the same manner. Addressing the mic straight on can create all kinds of problems with sibilance, plosives, and proximity effect, even with a pop filter.

Rather, you want to throw your voice across the path of the polar pattern, not directly into the capsule, keeping your head at about a 45-degree angle to the microphone.
When the mic is plugged in and phantom power is feeding it, the polar pattern is constantly active. Constantly waiting for audio to cross its path. It is very similar to a fan in that the fan is continuously moving air for a fixed distance.
There comes a point where the farther away from the fan you are, the less air movement you feel until you don’t feel it anymore.
The polar pattern acts much in the same way, yet kind of in the opposite direction. Think of a microphone as gently drawing the area of the polar pattern toward the capsule and all you have to do is toss your voice into the area where it “hears” best.
Your voice gets gently sucked into the mic. Gently.
Even with a hard sell spot you should let the mic do its job without forcing your voice directly into the capsule’s diaphragm.
Think about how a camera operates.
Your camera has a field of vision and all you have to do is position yourself or others within that field.
And you can agree that there is a point where people can get too far away.
By the same token, there is a point where people can be too close to the camera and you get a little too much of one thing and not a well-rounded photograph.
A “super-close” close up is equivalent to proximity effect. Things start to get distorted and out of proportion.

Mic Technique And The Polar Pattern
The polar pattern has a fixed area of pick up. Because of that, it also has a fixed area of rejection.
You can use this to your advantage. There is something I call BP or breath proximity. This is where your breath sounds are at the same volume as the words you are reading from your script.
Remember, in the natural world, we don’t hear people speaking to us the way a microphone hears a voice talent unless that person were just a few inches from our ear, which would make the majority of us very uncomfortable.
When breath sounds are recorded at the same level as the voice, they need to be reduced in editing. The more they are brought down in volume the more natural, ambient sound between sentences is reduced.
This creates an ambient pumping, requiring room noise to be added back into the production to compensate.

We don’t want to be able to hear where editing has been done because it takes away from our experience.
Moving or turning your head away from the mic in between sentences can prevent your breath sounds from being recorded at the same level as spoken word, greatly reducing their volume. The natural ambient sound of the room remains the same which will also make editing easier. If additional reduction is required it won’t be so drastic.
You also want to back away from the mic for louder sections of your script, even within the same sentence. The spoken word is very dynamic in nature, and in fact, difficult to record correctly.
A sentence is usually louder at the beginning and then fluctuates in volume and strength throughout. Drawing you head away for breath and louder parts of the sentence and then back in again for softer parts is what is called “working” the mic.
But it’s a very subtle technique. A lot can change in just a couple of inches, so there is a small window to work within depending on the dynamics of your script.
This is something you should practice outside of session work until you are comfortable with the technique. You can easily get “off-axis” with too much movement or by turning your head in the wrong direction.
Being aware of which polar pattern the mic is set to also changes how you use this technique with the mic.
This is where many people start to fall short in their knowledge of proper mic technique.
The Omni setting will give you the most flexibility, yet it is rarely used in voice work today. But if you have an extremely quiet room, the omnidirectional pattern will give you the most natural sound to your voice and it is not susceptible to proximity effect.
You also have a larger range of side to side movement within the polar pattern without getting off-axis where frequency range remains consistent.
The most common setting for voice over is the cardioid pattern. There are so many manufacturers that make cardioid only mics, and that can simplify things by reducing the choices.
You should have a good distance range of about two feet in the cardioid mode before things start getting too thin. The farther away you are from the mic, the less side to side movement you will be afforded.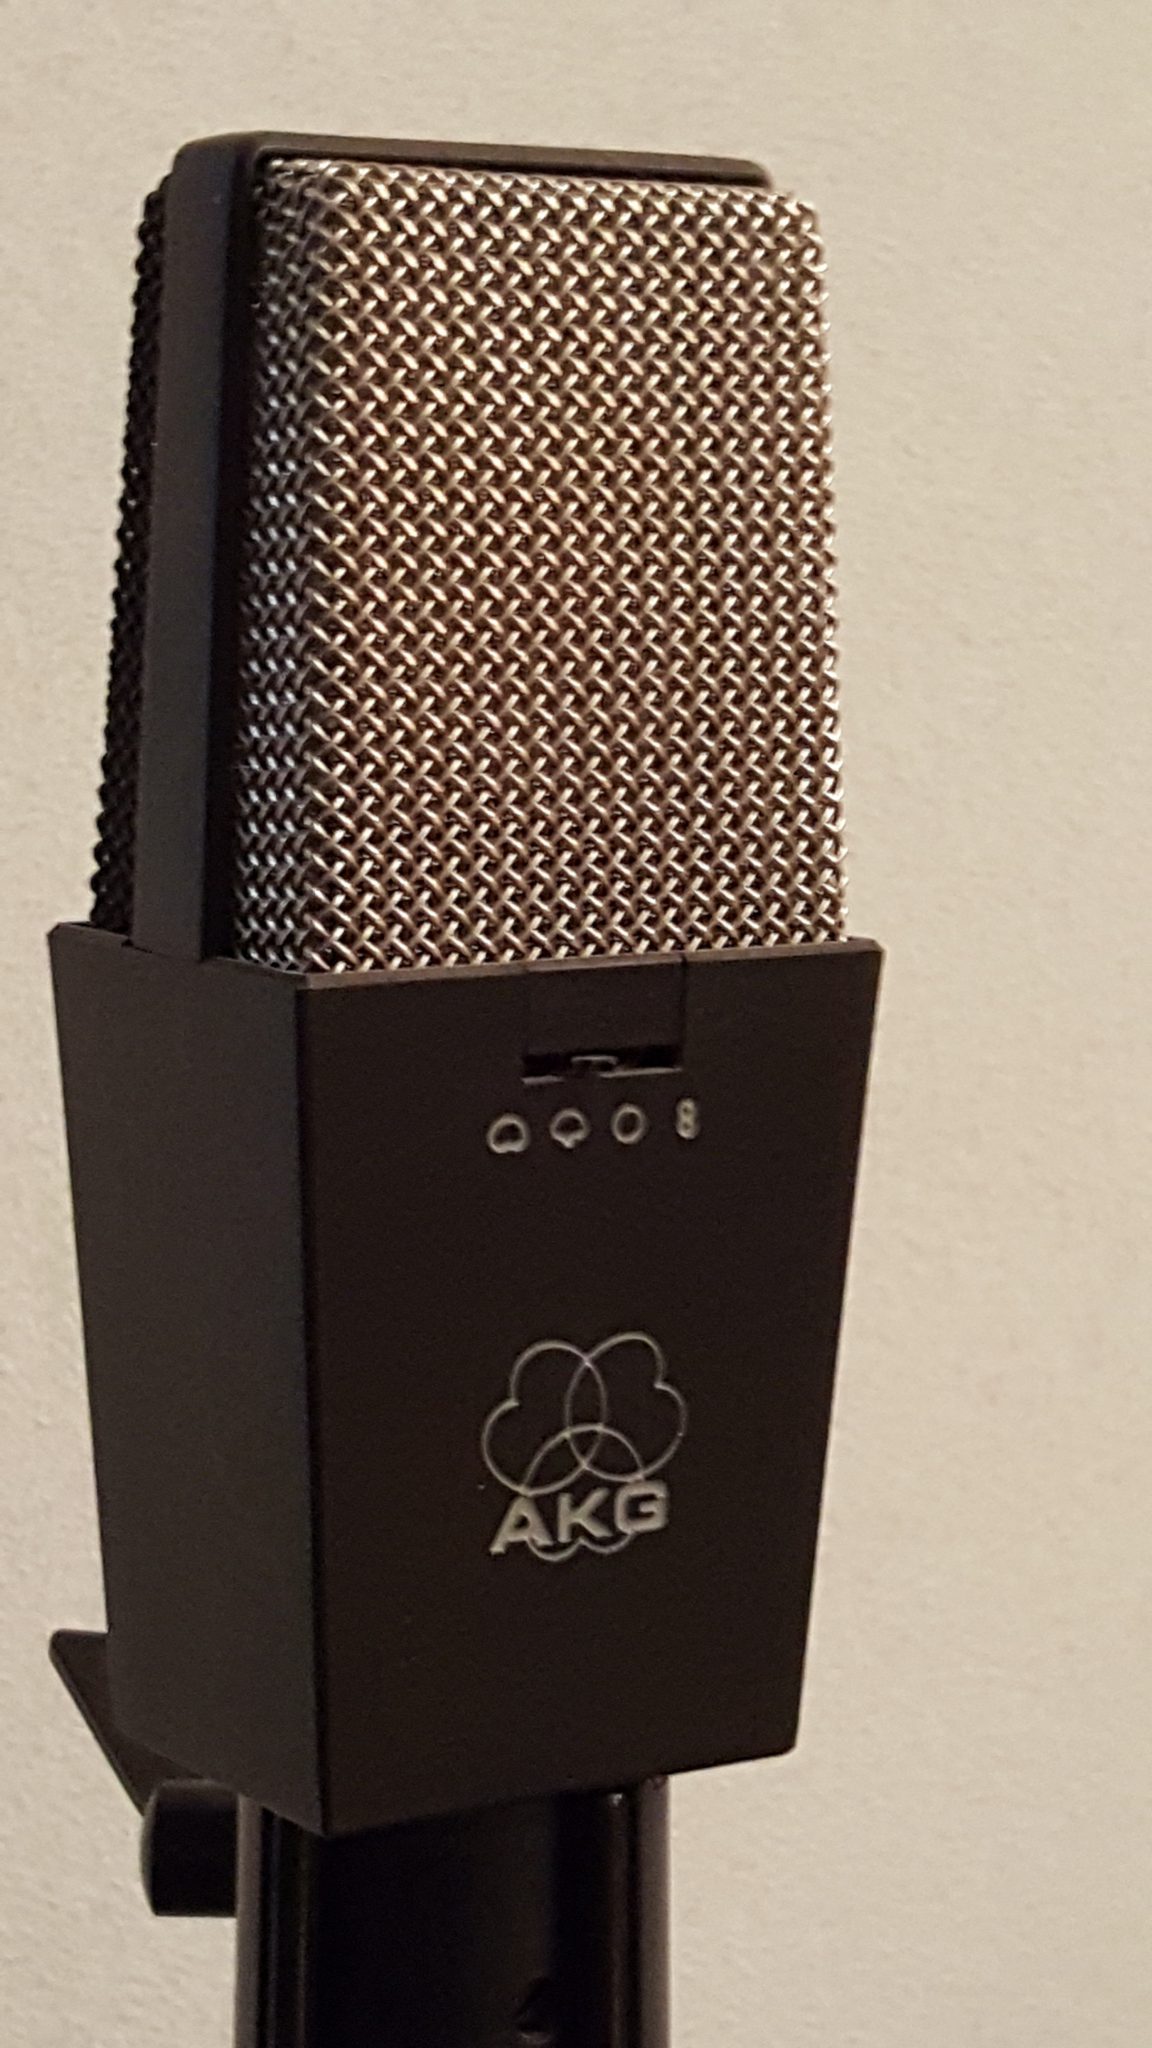

A hyper-cardioid pattern will reject more room noise from the sides as well as give you more distance from the mic to play in. Rejecting more room noise from the sides will also mean you will sacrifice even more range in your side to side movement. If you are good at keeping your head still while you read, it provides a very focused pickup pattern, though.
This choice is very useful if your room is a bit noisy. If you have a pretty quiet room, this pattern can sound a bit unnatural as it tends to suck any ambiance out of the signal. In that case, your best choice would be cardioid.
If you work in other studios, don’t be afraid to ask your engineer what polar pattern they are using. We all have our own reasons for the choices we make when setting things up.
Knowing this information will give you an instant mental picture of your working range in front of the mic. I like to think of it as a virtual force field that you step into when you approach a microphone.
Test your own mic by experimenting with distance and movement while you talk or read. Notice the distance where your voice starts to get unnaturally deep as you move closer and thinner as you move farther away.
This will get you familiar with the way your tone changes with distance and where your off-axis areas are.
When you are off-axis, your voice will lose higher frequencies and start to sound flat and muddy.
You will begin to get a picture of the force field your head needs to be positioned in to get consistently great voice over recordings.
The Other Half Of The Story
For most voice talent, stepping up to the microphone and “working” the mic encompasses their definition of mic technique.
But if you’re working from home you have opened up a whole new world into the thought process of the engineer.
That’s right, the other half of the story of mic technique comes from engineers and why they choose the mics they choose, how they place them and which polar patterns to use.
This all happens long before you steps into the studio.
In your home studio, mic placement is critical to achieving the best sound you can in your environment.
Remember earlier we talked about the rejection side of the microphone? Here’s where thinking from the other side comes in very handy.
Even before you set up a microphone you should be thinking about using the rejection side of the polar pattern and facing it toward whatever is generating the most noise in your recording space.
It’s what we do in professional studios to get better isolation of sound, even when artists are in the same room with each other.
This is so much more important when recording your voice at home.
If you don’t have a sound-proof room, you want you capsule pointing away from the source of the noisiest element in your room.
Is it your air conditioning vent?
Is it outside noise coming through a window that is only single pane?
Is it your computer fan?
Your refrigerator?
A poorly sealed door?
Face whatever it is when recording, from a 45-degree angle, of course, so that the back of your mic is pointed toward the loudest sound in your space.
Choosing A Polar Pattern
Choosing a polar pattern is just as important when considering how much noise you need to eliminate.
If you only have a cardioid pattern, that is obviously going to be your only option. Many people purchase a mic with just one pattern, but I think you are limiting yourself if you do.
I have plenty of microphones that only have one polar pattern, sure. But I have plenty of microphones. And plenty of choices.
If you can only get one mic, get one with multiple patterns so that you have more choices to play with. It is worth the few extra bucks you will spend.
Now, I know that the models with super-cardioid or hyper-cardioid or continuously variable patterns are the most expensive mics. Because the ones that include those options usually have 5 patterns and the variable ones have as many as 9 patterns.
But there are tons of relatively inexpensive microphones with the 3 standard patterns of omnidirectional, cardioid, and bi-directional or figure-of-eight.
I can hear you saying to yourself,
“How does that help me?”
“The omnidirectional is going to pick up practically every noise in the room.”
“The bidirectional is going to pick up everything on the other side of the room from where I’m going to be recording.”
Ok, yes the Omni may be a problem unless you have a whisper quiet room, as we mentioned earlier, and if you do you will have the option of having completely natural sounding and uncolored recordings without the worry of proximity effect.
“So why not just go and get a cardioid only microphone?”
Because here’s a little secret most people don’t know about the bidirectional polar pattern.
Yes, there’s an open diaphragm at the back of the mic recording everything from the other side.
So what!

If you put the back of the mic within a few inches of good sound proofing material, so that virtually no sound enters the other diaphragm from across the room, you have just created a very tight cardioid pattern with excellent rejection from the left and right sides.
Much tighter than the standard cardioid without the unnatural wonkiness that a super or hyper cardioid can display.
Most people think that a bidirectional pattern is just a cardioid pattern on both sides. But, in reality, this position cancels out the extended area of the cardioid that creeps around the back of the mic from the sides, reducing the size of what would normally be the cardioid polar patterns.
With excellent rejection from either side of the mic.
Now you can point the sides to the source of the noise in your recording space.
You have just saved yourself hundreds if not thousands of dollars by spending a few extra dollars for the mic with three polar patterns.
Pop Filter Placement

Here is another example of good mic technique. Placing your pop filter in the correct position makes a world of difference in the quality of the recordings you will get.
Your pop filter should be no closer than a fist size away from the microphone. Otherwise, you are dangerously close to playing with the fire of proximity effect.
This, in combination with addressing the mic at a 45-degree angle and tossing your voice into the optimal area of the polar pattern, will greatly reduce plosives and virtually eliminate proximity effect.
Conclusion
As a voice artist utilizing other recording studios, having good mic technique is all about how you address and “work” the mic.
But as a voice artist recording your voice at home, you need to look at the process of mic technique from the standpoint of the audio engineer.
That begins with the placement of the mic, not only in relationship to the person who will be using it but in relationship to your room acoustics and getting the most room rejection as possible.
Remember, the human voice is said to be the most difficult instrument to record correctly.
Any guitar amp can sound great with a hundred different mic positions. You don’t have anywhere near that many options when recording spoken word.
That being said, you should be approaching the process from every available angle to give you the best chance of recording awesome voice over.
I hope that reading “Your Mic Technique Stinks: And What You Can Do About It” has given you some things to think about before and after you set your mic up.
LOL…Funny, I have been doing the side address without knowing that I was doing something right! It was just more comfortable. My pop filter, which I have always thought was too far from the mic, is just the right distance! Purely accidental. Thanks for such an easy to understand article. I’m glad I’m getting something right, even tho’ it was unintentional. Now to read the rest of your posts!
Hi Kay,
Thanks for commenting!
Yes, you hit the nail right on the head.
If it is not comfortable, it is not right.
If you are staring at your mic’s logo plate, it is not right.
If you can’t see your script, it is not right.
If you feel the mic or pop filter on your lips, it is not right.
If you don’t sound natural in your headphones, it is not right.
If your voice is an octave lower than you know it to be, it is not right.
Thank you for “unintentionally” knowing what is comfortable and what is not. If something is uncomfortable, it just is not the right way to be doing it. Once you feel that all these things come together naturally, you are on the right track. (no pun intended 🙂 )
HI Jim
Thank you, being someone who works from home, this is the most helpful article I could ask for on mic techniques.
I sing and have a huge sound system which I use when performing and it is so true. The exact mic which is the best on the market for singers does not work for recording voice overs – not for best quality.
And I believe if you want to do YouTube videos you don’t want to annoy the people watching because of other distractions or not being able to hear what you are saying.
Linda
There is a great difference between mics for singing and voice-over. Mics for singing are made to be handled and have excellent feedback suppression. You would never handle the mic when doing voice-over.
I just learned a ton more about Microphones and recordings. I work in a medical simulation lab with a lot of AV equipment. I have been learning as I go when it comes to the AV part. The simulation part I can do in my sleep. Thank you so much for the information, it will be helpful in the future..
Hey Ken,
Thanks, I am so glad I could help ease the understanding a little. I hope it makes your work that much more enjoyable.