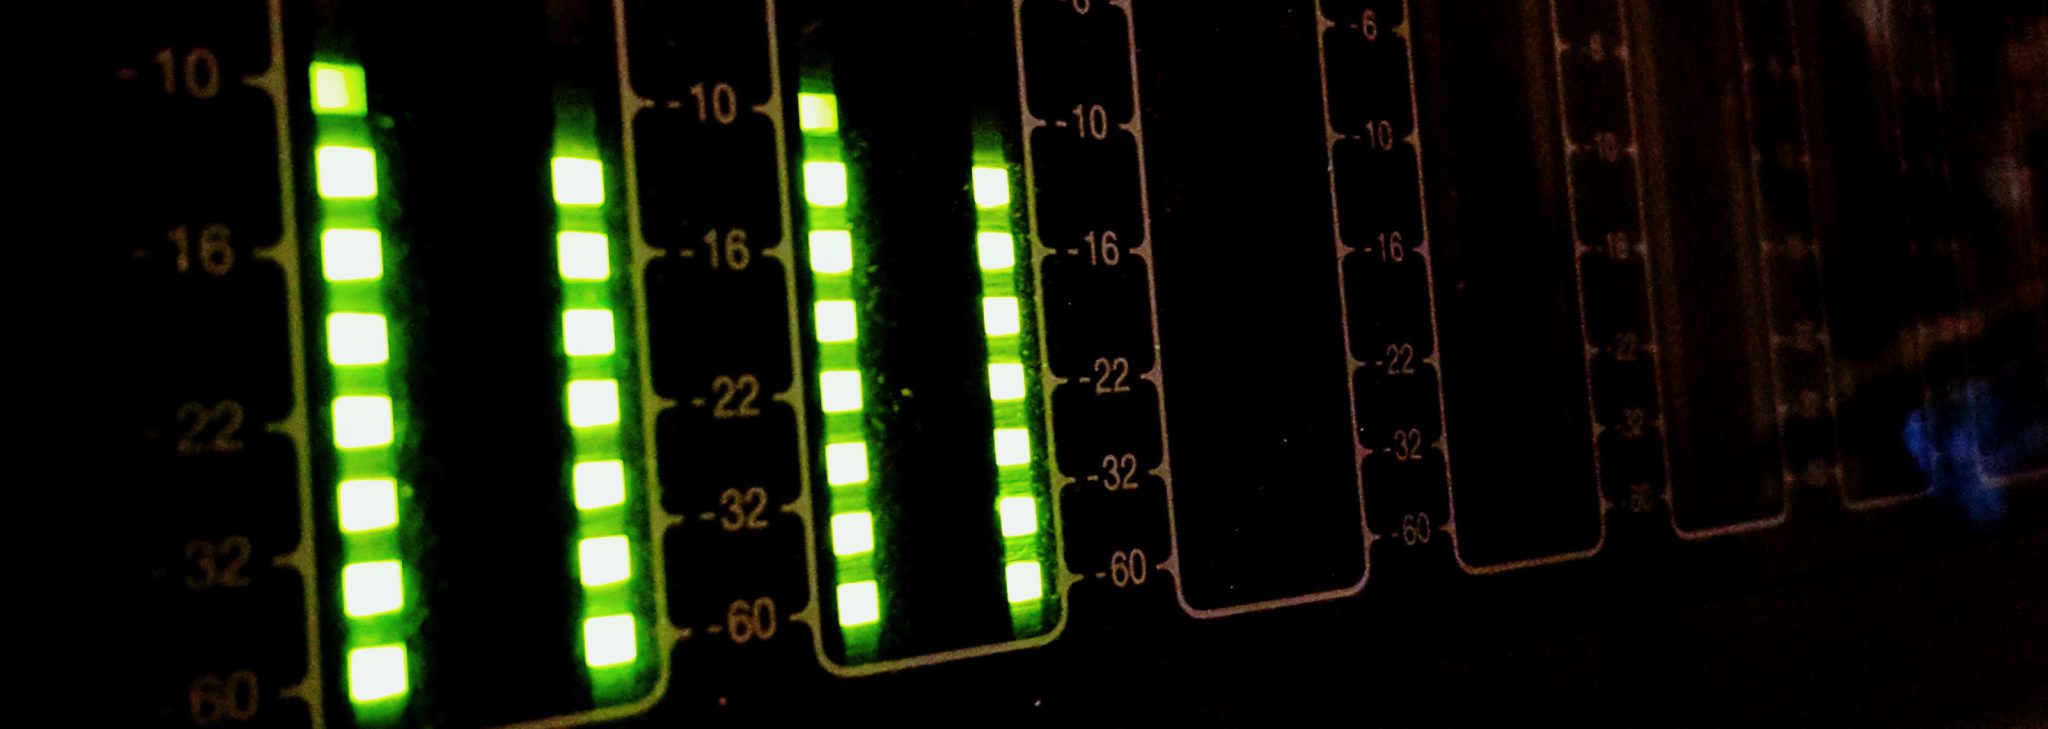
Successful voice-over recording requires that we start with good levels.
Remember, this is just the beginning of the project.
There is still a lot of post-production to take place after the recording part of the session. Everything you do to prepare the voice file to send to your client is your own post-production, but the engineer on the other end may have a lot more to do before the production is finished.
Watch this 180 To Great VO video so you can determine where your recording levels should be.
Make sure you read all of the text as well. I go into much more very important detail that there is no time for in a three-minute video. I am trying to keep these at 180 seconds. (180 to Great VO)
Where To Start With Good Levels
A common problem when first starting to record your voice is that the levels start out too low. This can happen because the voice is so dynamic that we tend to treat things gingerly in the beginning. Sometimes we’re afraid we might break stuff.
A much more common problem are levels that are way too high.
In the analog world, we want to get the recording level as high as we can to avoid exposing too much of the noise floor when it comes time to mix.
We don’t want to go anywhere near that practice of recording in the digital domain.
Analog VU meters are calibrated for optimal recording level hovering around the zero mark. That zero mark is right at about 60% of the meter’s range.
60%
If you have noticed, the zero mark on your digital recording program’s meter is at:
100%
Think about that.
.
.
At 100% you are .001 percent away from instant distortion. Instant digital distortion.
And I would argue that your audio is showing critical signs of distortion, that you just have not heard yet, considerably before that point.
In the early days of digital recording, during the transition from analog, the old standby of calibration tones were a staple in the recording studio. These tones were used to ensure that transfers from tape to digital were taking place at the correct level. This was also true in the reverse, from digital to analog.
Do you know what that zero VU translation is in the digital world?
-18dB
NEGATIVE EIGHTEEN DECIBELS
That is where zero on analog tape machines correlates in the digital domain.
And for some of the more conservative audio professionals, it is even lower at -20dB.
Do you see how getting your recording levels and your waveform to fill the meter range on your DAW is so dangerously close to overload?
It leaves no headroom for any type of processing that NEEDS to be done in post-production. Having huge level at the recording phase is not the same as getting the overall level there through proper processing with compression and limiting.
In Conclusion
A general and safe place to start with good levels in the recording stages of your session is to keep the meters registering around the area where the color change happens. (Usually from green to yellow)
In most Digital Audio Workstation that starts around the 50% level.
That will give you and any other engineer involved in the production plenty of headroom for further processing.
Share on your favorite social media platform. Leave a comment and let others know what you think.

Really, REALLY great video Jim on levels. I’ve been a full time talent for a long time, but my first love is production and like all of us I had to learn the science behind audio and forget what I learned from radio. This video is so straight forward, honest and right on point. Anyone wanting to be a VO talent must first build thier own home studio, one that sounds natural and great and then start learning how to be a VO talent.
Now this all brings me to a couple of requests. Levels are key and the first step in delivering consistent audio to your clients. I would love to see a segment from you on using 1kHZ tones to balance all the I/O from your DAW interface to your audio out. I’ve built three personal studios in the last 22 years and that basic engineering tip from my engineer was vital.
Another request is I would love to get your opinion on mic audio into your computer to your editor. I record completing … except I run my mic into s Manley Vodbox using only the limiter which on the Manley is automatically set at 10:1 and only 1DB of vocal limiter. This allows to use an upclose intimate personal read or powerhouse car dealer blowout. With this setting I never have to adjust my levels into Pro Tools.
I would love your opinion on how i use limiting to control my input level. BTW I NEVER use compression or eq to use except on post for affect.
Love you site and info. Anyone serious about this kind work needs to take your serious.
Nice job. I’ll be watching.
Steve Wood.
Phoenix AZ.